


Top Rated Wine Storage Racks
Discover the perfect blend of style and functionality with our modern wine racks. Elevate your space with elegance.


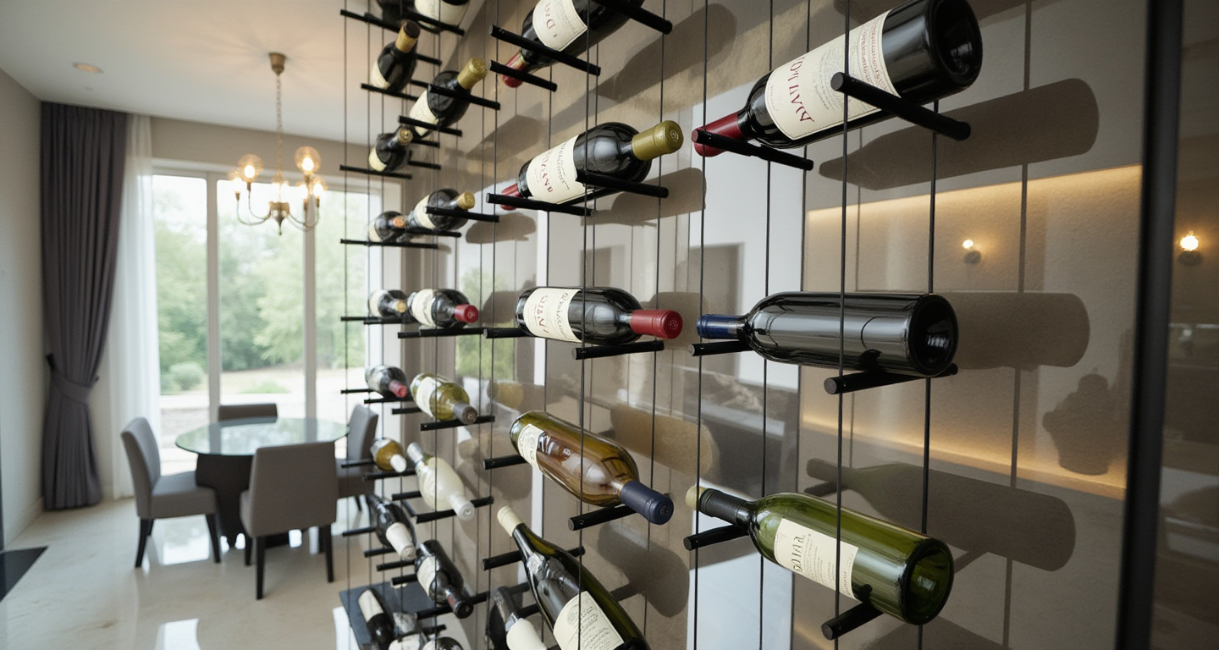
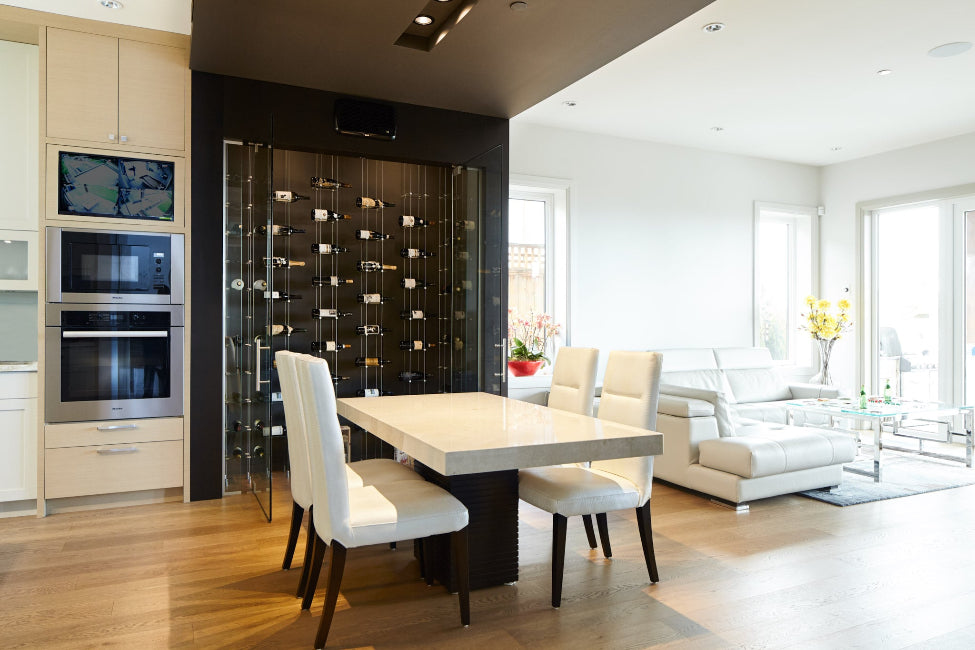
Custom Wine Cellars:
Custom Wine Cellars: Designed for Your Collection, Built for a Lifetime


Your wine collection is one of a kind—your cellar should reflect that. Our custom wine cellars are thoughtfully designed to match your aesthetic, optimize your space, and maintain ideal conditions for aging and display. Whether you prefer a classic, handcrafted wood cellar or a refined, modern glass enclosure, our team brings your vision to life with expert craftsmanship and advanced climate control.
From private residences to commercial installations, our bespoke designs protect your investment while creating a striking focal point. Enhance your wine experience with a cellar that balances elegance and performance. Your collection deserves exceptional design—let’s create it together.

Commercial Wine Racks: Stylish, Space-Saving, and Built to Impress
Showcase your selection with commercial wine racks designed for functionality, durability, and elegance. Perfect for restaurants, wine shops, and bars, these racks maximize storage while creating a stunning display.
Optimize your space and elevate your wine presentation!


Testimonials
Wine Cellar Cooling Systems: Precision Climate Control for Perfect Preservation
Protect your collection with wine cellar cooling systems designed to maintain ideal temperature and humidity. Ensure your wines age flawlessly with efficient, reliable climate control tailored to your space.
Preserve every bottle with the perfect environment!

TTW009 Through the Wall Wine Cellar Cooling Unit – 60Hz
Wine Cellar Installation Services & Assembly
Discover the art of preserving and showcasing wines with our premium cellar installation service. Trust in our expertise for a seamless process.


Blogs
Delve into a world of wine expertise through our collection of cellar-focused articles. Learn from the best in the business.


